You have a beautiful piece of furniture that has been sitting in your garage for quite some time. Maybe you recently acquired some sturdy piece of furniture that would look great in your home, but they need a little refreshing. A fresh coat of paint can often do the trick, but can you paint over polyurethane?
It seems like this should be a relatively simply straightforward answer. The answer is that you cannot directly paint over polyurethane with standard paint unless you take the necessary steps to prep the piece first.
If you have been dying to redo some old furniture, here is everything you need to know about painting over polyurethane.
What Happens If You Paint Over Polyurethane?
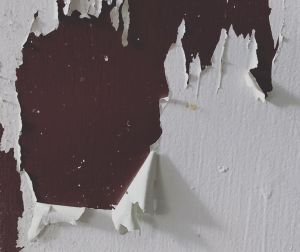 If you choose to paint over polyurethane without prepping, your paint is likely to peel right off. It won’t take much to scrape the paint off the surface. Most people find that it slides right off when they drag a simple fingernail across the surface of their paint.
Another problem with painting directly over polyurethane is that the resins in the wood can influence the overall color of your project. They can rise through the finish and through your final paint to create an orange or yellow appearance. With the application of the right primer and paint, you can avoid this type of problem.
How do you properly prepare your piece to accept a new coat of paint? Here are the steps that you need to follow to get the job done right.
Sanding the Surface
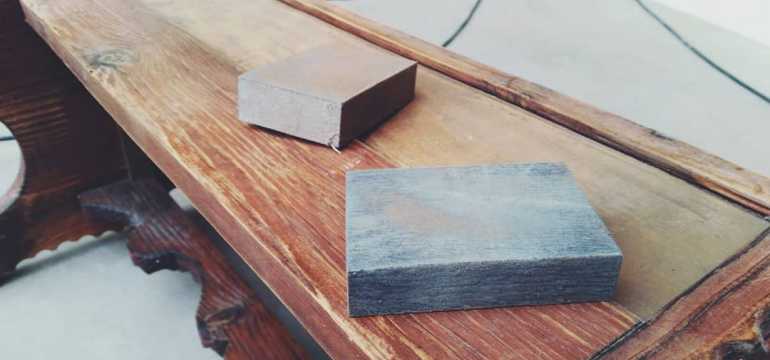
Most people who want to know how to paint over polyurethane are hoping that they can find some magical way to do so without sanding. Putting forth a little elbow grease can really work up a sweat and create quite a mess. Unfortunately, you really should invest some time into sanding a piece of furniture before you paint over the polyurethane finish.
Even if you just want to stain the wood a new color instead of painting it, you will need to sand away the thick yellow coat of polyurethane.
Keep in mind that it may take several passes with different types of grit. A heavy grit sandpaper should be used first to really rough up the surface and get off as much of the polyurethane as possible. You can use progressively lighter grits to get the wood to a consistent, smooth surface that is free from any major scratches that could have been caused by the heavy grit paper.
In the end, you should be left with a clean piece of unfinished wood.
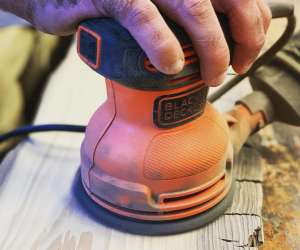 You can use a palm sander to take some of the labor-intensive work out of this simple task. However, you won’t be able to get it into fine grooves and oddly shaped areas like table legs or spindles. For these types of situations, traditional handheld sandpaper is still going to be your very best friend.
Applying a Coat of Deglosser
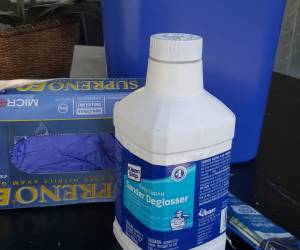 Can you paint over polyurethane without sanding it first? Many people would argue that sanding is the only real way to go when potentially painting over top of polyurethane. They do not realize that there may indeed be another option. Applying a coat of deglosser, also known as liquid sandpaper, can work in much the same way as sandpaper but without the need for all the sweat.
It etches the varnish and provides a new texture for the paint to adhere to. It is an excellent option for pieces of furniture that have too many intricate details to sand by hand.
Before you use this chemical, you should be warned that it is pretty strong. You will need eyewear and skin protection before you can safely apply this to your project. Always make sure you are working in an area with good ventilation so that you do not risk damaging your lungs or giving yourself a headache from the fumes.
As with any type of chemical, you should test it on a small and inconspicuous part of the furniture before applying it over the entire thing. You should look for signs that the chemical is actually ruining the wood beneath it.
How do you apply deglosser? The answer is simple. Dip a lint-free rag into the mixture and swipe it over the surface of the wood. You don’t have to work hard to rub it in or rinse it off. Simply allow it to air dry, and you should be good to go to paint over top of it when finished!
Always Use a Primer
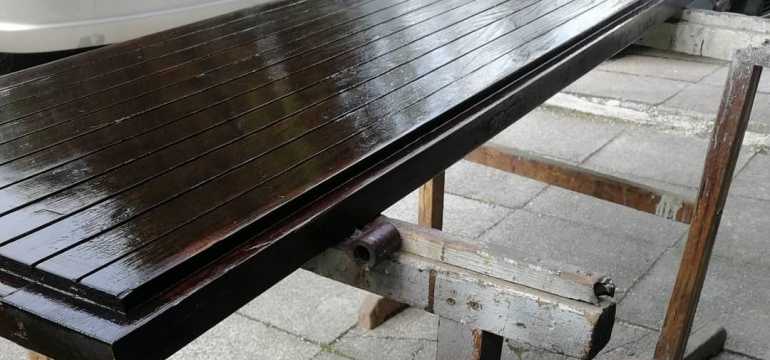 A thin coat of bonding primer is going to be an essential ingredient to painting over polyurethane. Applying a good quality primer can help to prevent tannins from bleeding through your paint and ruining the overall color. Primer should be applied with thick and even strokes, taking care not to have splotches of thick patches anywhere on the project.
Let this first coat dry and then gently sand it. Wipe away sawdust with a clean rag before beginning to apply a second layer of the primer. Allow the piece of furniture to dry overnight and then sand it again in the morning. The goal is not to sand all the way through the primer. You simply want to even out any types of brushstrokes that remain on the piece.
If you do not sand the primer appropriately, you might have blotchy stains on the piece when you apply the final coat of paint.
Primers can often be thick and difficult to clean up. Make sure that you have plenty of mineral spirits on hand to clean up your brushes and any type of mess that you create.
Applying the Paint
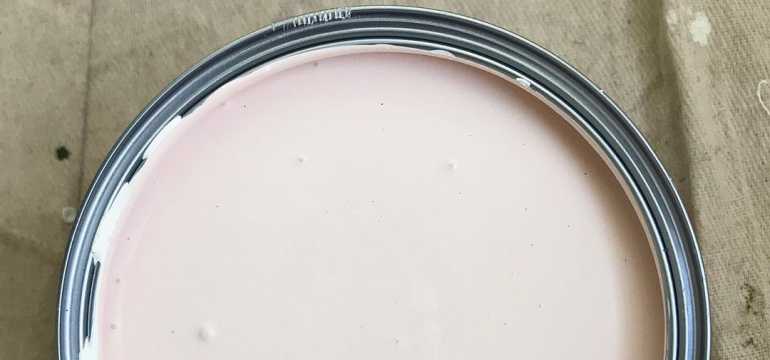 Once you have taken all of these steps, then you are finally ready to apply the actual paint to your project. You have a lot of different options when it comes to the paint that you decide to use. Some people prefer to use an all-in-one option because they believe it will save them from having to apply both primer and paint. Unfortunately, this may not be the best option for your project.
These one-step solutions are often very expensive, and they will not provide a lasting finish. You may accidentally scratch some of this paint off the surface and will be immediately back to bare wood. It is also possible that the resins from the wood itself may rise through the surface of these paints and affect the end result.
Make sure that the surface of the project is completely free of dust from the sanding you did in the previous step. Wipe it down with a lint-free cloth. Then, you can apply the first topcoat of paint. Let it dry overnight and then apply a second coat in the morning.
Keep in mind that your paint still needs to cure even though it is technically dry. You should wait a minimum of 72 hours before you begin to decorate and place objects on top of it. If you can wait a little longer than this, it is really ideal.
Using Chalk Paint
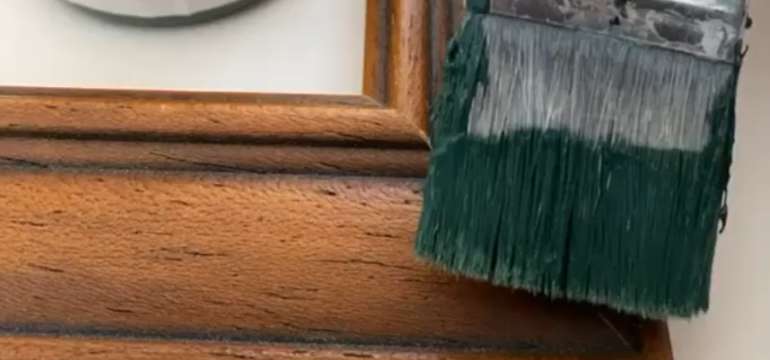 Chalk paint is advertised as a miracle paint that can go over any surface without the need for surface preparation. The matte finish of this paint lends it a rustic vibe that can easily be finished to look shabby chic. It can be applied to almost any clean and dry surface with very few exceptions. Even if the piece has had paint applied to it previously, chalk paint can go right over the surface without the need for any prep work besides cleaning.
Theoretically, you should be able to apply chalk paint over top of your polyurethane furniture. Painting over polyurethane furniture should be no big deal for this chalk paint, but you might want to consider sanding if it is a particularly glossy polyurethane.
Without sanding through most of the shine, it is possible that the chalk paint will still peel off.
What about the other way around?
Can you put polyurethane over chalk paint?
The answer is definitely a Yes. In fact, there are some situations where you would definitely want to use polyurethane instead of the traditional wax finish. Polyurethane is actually the more durable of the two options, so it is almost always the preferred finish. If your piece of furniture will be coming into contact with lots of moisture or wear and tear, then polyurethane is the safest option for the finish type.
Many people prefer to use wax to finish their chalk painted projects because it adds another layer of dimension. Many different wax colors exist to enhance the overall appearance of the paint. Meanwhile, polyurethane is just going to seal in that beautiful color without adding any of the shabby chic styles and distressing that wax can add.
Finishing Your Furniture the Right Way
It is true that applying a fresh coat of paint over top of polyurethane can be a real chore. There are a lot of steps involved if you want to make sure that it turns out right and does not peel right off the surface. When you take the time to do the job the right way, your piece will last for years to come without the need for constant touchups. With some of these helpful tips in mind, you should be well on your way to painting your first piece of furniture!
- Painting Over Powder Coat and What You Need to Know - February 1, 2022
- How to Get Rid of Humidity in a Basement Without a Dehumidifier - December 17, 2021
- How to Fix a Crack in Drywall That Keeps Coming Back - September 22, 2021

Pat A.
Saturday 9th of October 2021
We just bought a home where the previous owner used polyurethane on the stone fireplace to make them look wet. It is horrible. We want to white-wash the stone to get rid of the "wet" look. Any information as to how or if it can be done. This would be the most cost effective way to improve the look of the fireplace. Thank you in advance for your help.