Knowing how to remove tack strips can be an essential part of removing the carpet. There are a few different methods for how to do this based upon what it underneath the tack strips. Whatever process you use, be sure to wear gloves, especially if you are not up to date on your tetanus shots.
Old carpet tack strips might be able to be left in place if they seem to be in fair condition and if you are replacing your old carpet with new carpet. However, if you are planning on switching to tile, hardwood, or some other type of flooring, then these strips will have to be removed.
These strips are to help keep the carpet in place so that no matter what you do, it will not slip or bunch up anywhere. Essentially they are a thin strip of wood that has nails that poke out of it both ways. They are mostly to be found around the edges of a room, but can also be seen going across a large room sometimes.
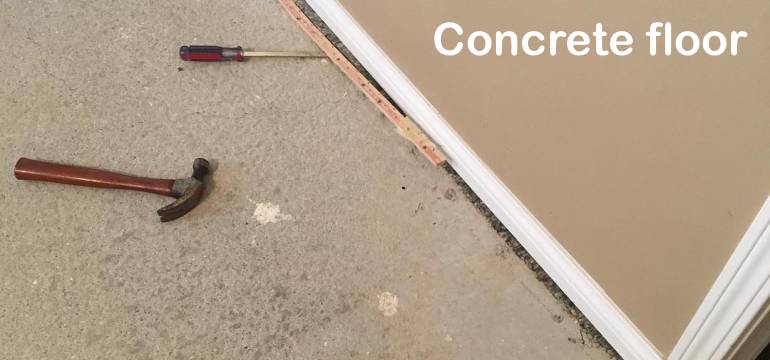
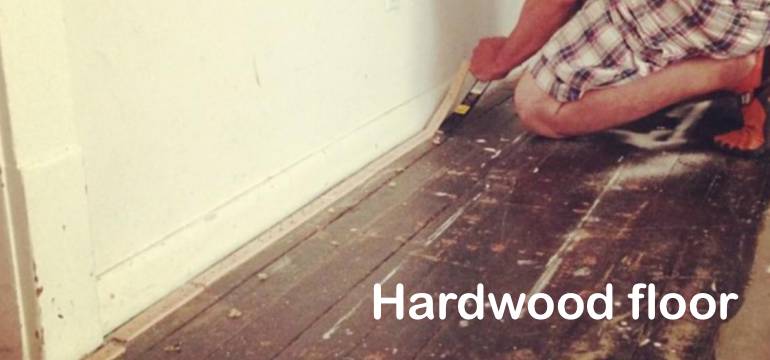
Ways to remove carpet tack strips from concrete or hardwood floor
Taking a carpet tack strip off of a concrete floor will be somewhat different from taking it off of a hardwood floor, especially if you plan on keeping and restoring the hardwood floor. Since these tack strips are nailed into the floor, there will be small holes in the floor when you are done, but it is important to cause as little damage as possible in the process.

If your floor is concrete, then you can take a pry bar or the back of a hammer and place it under the strip directly next to one of the nails in it.
Pry it up if possible or, if it seems stuck, you can hit the other side of the hammer or bar as hard as you need to help loosen it.

With your hardwood floor, you will still need the hammer or pry bar, but you will also need a putty knife or something similar.
Insert the putty knife under the tack strip next to a nail to protect the floor then wedge the pry bar in above it and do the same as before.
When you have gotten one nail out, go to the next until you have gotten all of the nails on a strip pulled out. Then you can roll it up and throw the whole thing away, moving on to the next.
When you are done, you should sweep the floor to remove any loose nails and dirt before you do anything else to your floor. You should also make sure that any nails that were left behind get pulled up.
Some carpet installers use glue in addition to nailing down the carpet tack strip. If it seems to be extra challenging to get under the nail or you notice that the strip appears to have adhered to the floor, then this might be the case.
Use a putty knife and hammer it underneath the strip in between the nails to break the seal and remove the nails as usual.
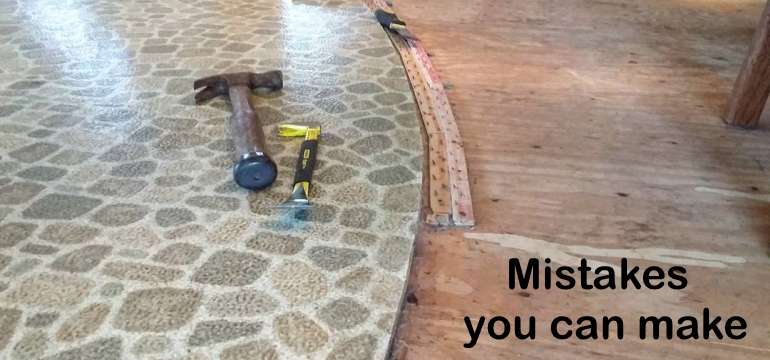
Mistakes you can make when pulling up carpet tack strips
 While you can try to pull up on the carpet tack strip once you have pulled a few of the nails up in one area, it is better not to do this. The reason is that it rarely works, especially on strips that are nailed into concrete, and it is much more likely to break apart.
It is also a bad idea to pull up on the tack strip anywhere other than directly under a nail. Not only will this make it harder, but you will also be more likely to break the strip without accomplishing anything.
Another fairly common mistake that you can make is to try to pry up the nail using a flat-head screwdriver. This rarely works because not only is the head too small, but it is too thick to fit under the nail properly. The result is that it will damage the floor more and will also be far more likely to do nothing besides breaking through the strip.
Wearing gloves is essential when dealing with nails, more so if they are old and rusty. Two other things you should consider for your safety is a set of goggles and a knee pad. A face mask is also a good idea if there is mold under the strip you are trying to remove.
The goggles will protect your eyes from small bits of wood or nails that can fly up as a nail pops out of place. The knee pad will help prevent you from getting a nail in your knee if you are not careful to watch where you kneel.
- Using Borax in the Dishwasher - May 27, 2020
- Towel Ring Height and Other Fixtures: Proper Measurements - May 1, 2020
- Homemade Paint Removers for Every Surface - April 27, 2020
